Notarizing a Mac app allows it to work better with Apple’s Gatekeeper feature in macOS. If you do not notarize your app, when someone downloads the app and tries to run it, an alert will open saying the app is from an untrusted developer. This alert may make people afraid to run your app. Notarizing your app keeps that alert from appearing and makes it easier for people to run your app. In this article you will learn how to notarize your Mac app so you can distribute it from your own website.
Prerequisites
You must have a paid developer account with Apple to notarize apps.
Your app must have the Hardened Runtime capability enabled to notarize it. Open the project editor and click the Signing & Capabilities button to see if you have enabled the Hardened Runtime capability

High Level Notarization Steps
Take the following steps to notarize your Mac app:
- Archive your project in Xcode by choosing Product > Archive.
- Open Xcode’s Organizer window by choosing Window > Organizer.
- Select your archive from the list of archives.
- Distribute the app.
- Choose a distribution method.
- Choose a destination.
- Choose a code signing option.
- Review and upload.
- Wait for Apple to notarize.
- Export the notarized app.
I will go into more detail on Steps 3–10 in the rest of the article.
Finding Your Archive and Distributing
In Xcode 12 the Organizer window looks similar to the following screenshot:

In the upper left window is a menu with a list of your archived apps. Choose your app from the list. Click the Archives item in the Organizer sidebar to see a list of archives for your app. Select an archive from the list.
Click the Distribute App button on the right side of the Organizer to start the process of notarizing your app.
Choose a Distribution Method
When you click the Distribute App button, a sheet opens with a list of distribution methods.

To notarize your app and upload it to your website, you should choose Developer ID. Click the Next button.
Choose a Destination
The next step is to choose a destination.

There are two destination options: Upload and Export. You must choose Upload to notarize the app. Click the Next button.
At this point, another sheet may appear with a checkbox to receive symbolicated crash reports from Apple. Select that checkbox and click the Next button.
Choose a Signing Option
Apple provides two methods to manage the signing of your app: Automatic and Manual.

I recommend automatically manage signing. Click the Next button.
At this point you will be asked for your Mac user’s password. Enter it.
Review and Upload
Now you can review options for notarizing the app.
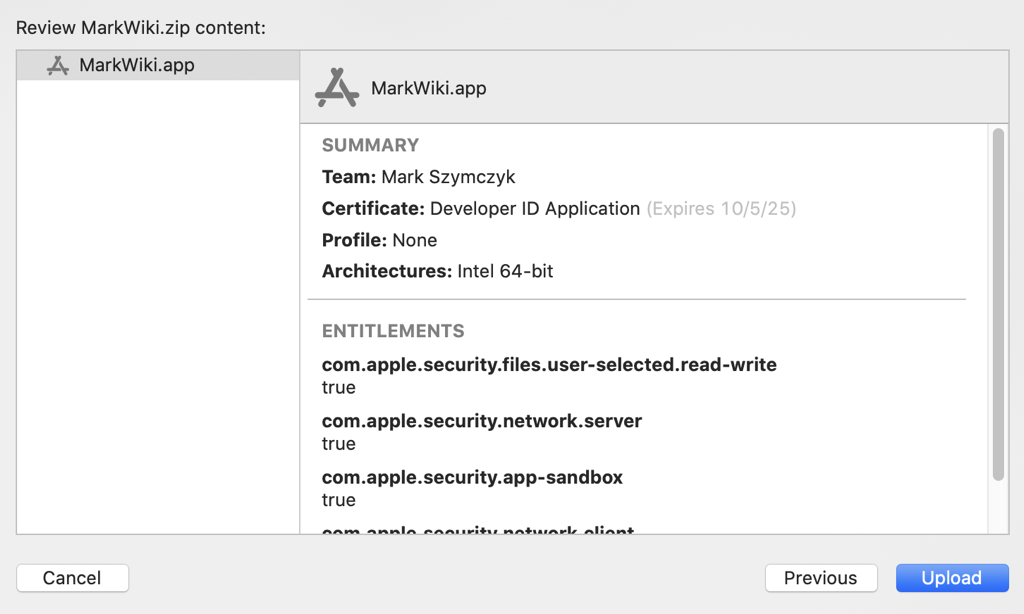
If you find a mistake, click the Previous button to go back and fix the mistake. When things look good, click the Upload button to upload your app to Apple to notarize.
Wait for Apple to Notarize
If the upload is successful, Apple will send you an email when they finish notarizing the app. Normally notarizing takes 20–30 minutes.
Export the Notarized App
When the app is notarized, a button with the title Export Notarized App appears on the right side of the Organizer. You may need to scroll the window to see the button. Click that button to export the app to a location on your Mac. When you finish exporting, you can upload the app to your website for people to download.