
Create an Immersive Experience with a 360-degree video in visionOS
Learn how to create an immersive space with a 360-degree video on visionOS with RealityKit.

Have you ever considered the idea of immersing yourself in a different part of the world and delving into its exploration?
In a world of digital creativity, making immersive experiences has become a really interesting subject for developers who create and design. Making a virtual world using videos that show everything around you is one way of achieving that feeling.
This tutorial helps you understand how to make an experience that feels like you're in a different world, where everything around disappears, and you find yourself in a lively, many-sided place.
By the end of this tutorial, you will be equipped with the skills and know-how to create an immersive experience using a 360-degree video with visionOS.
Before diving in, it is important to understand a concept called skybox. Think of it as a special tool for making digital places feel real. It's not just for showing the sky – it can be used to put all kinds of scenes and textures around you by creating the illusion of an expansive and immersive space by projecting images or textures onto the inner surface of a cube or sphere surrounding the viewer.
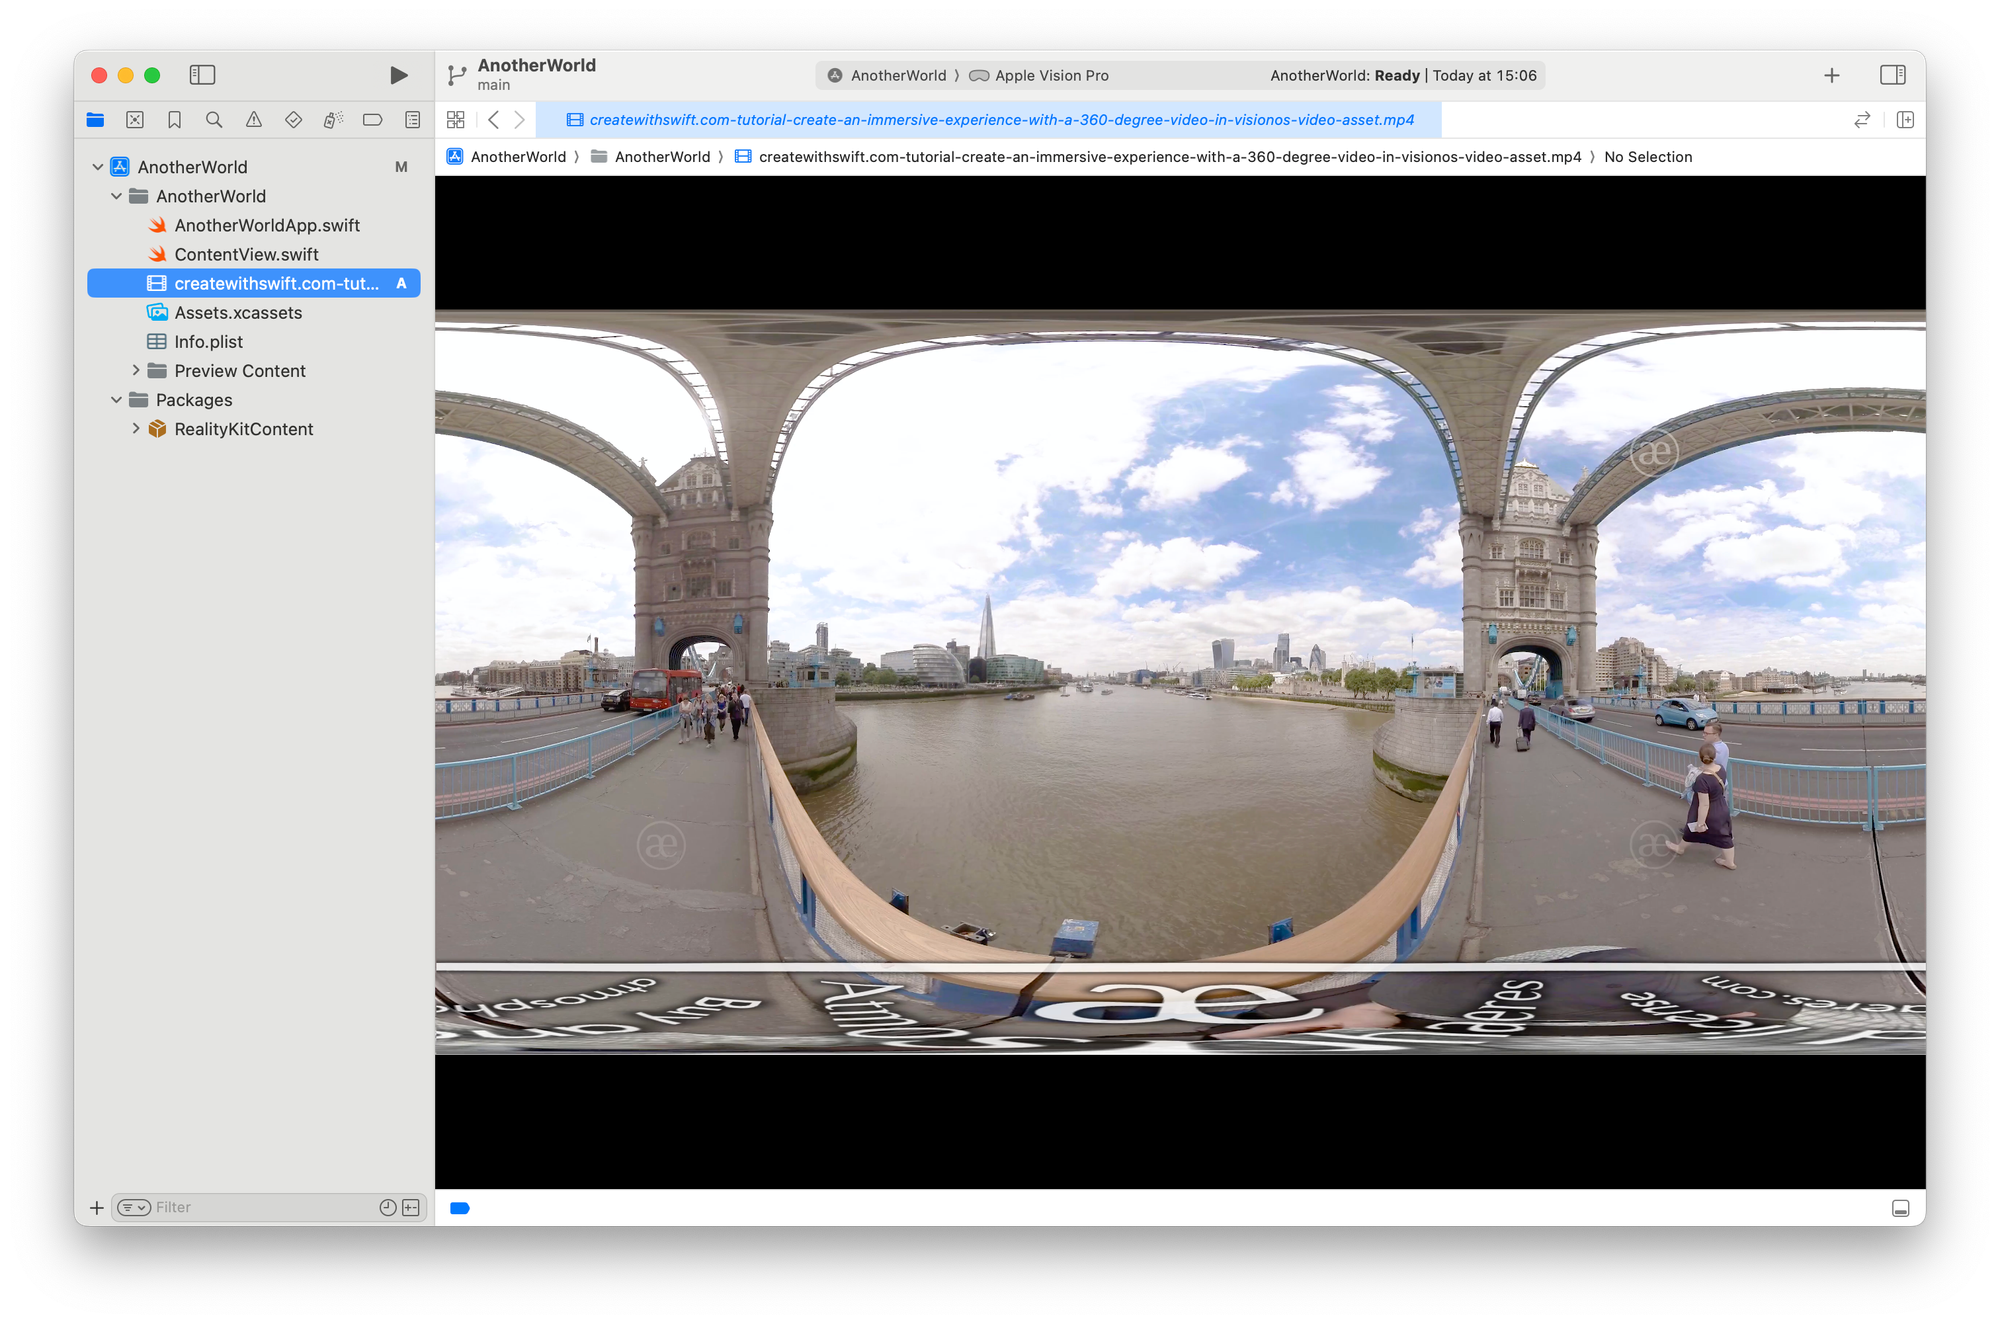
To be able to do this tutorial it is essential to have a 360-degree video asset available. If you don’t have one yourself you can download the following video:
Step 1 - Setting up the project
Let’s start by creating a new visionOS app project and importing the resources that will be used in it.
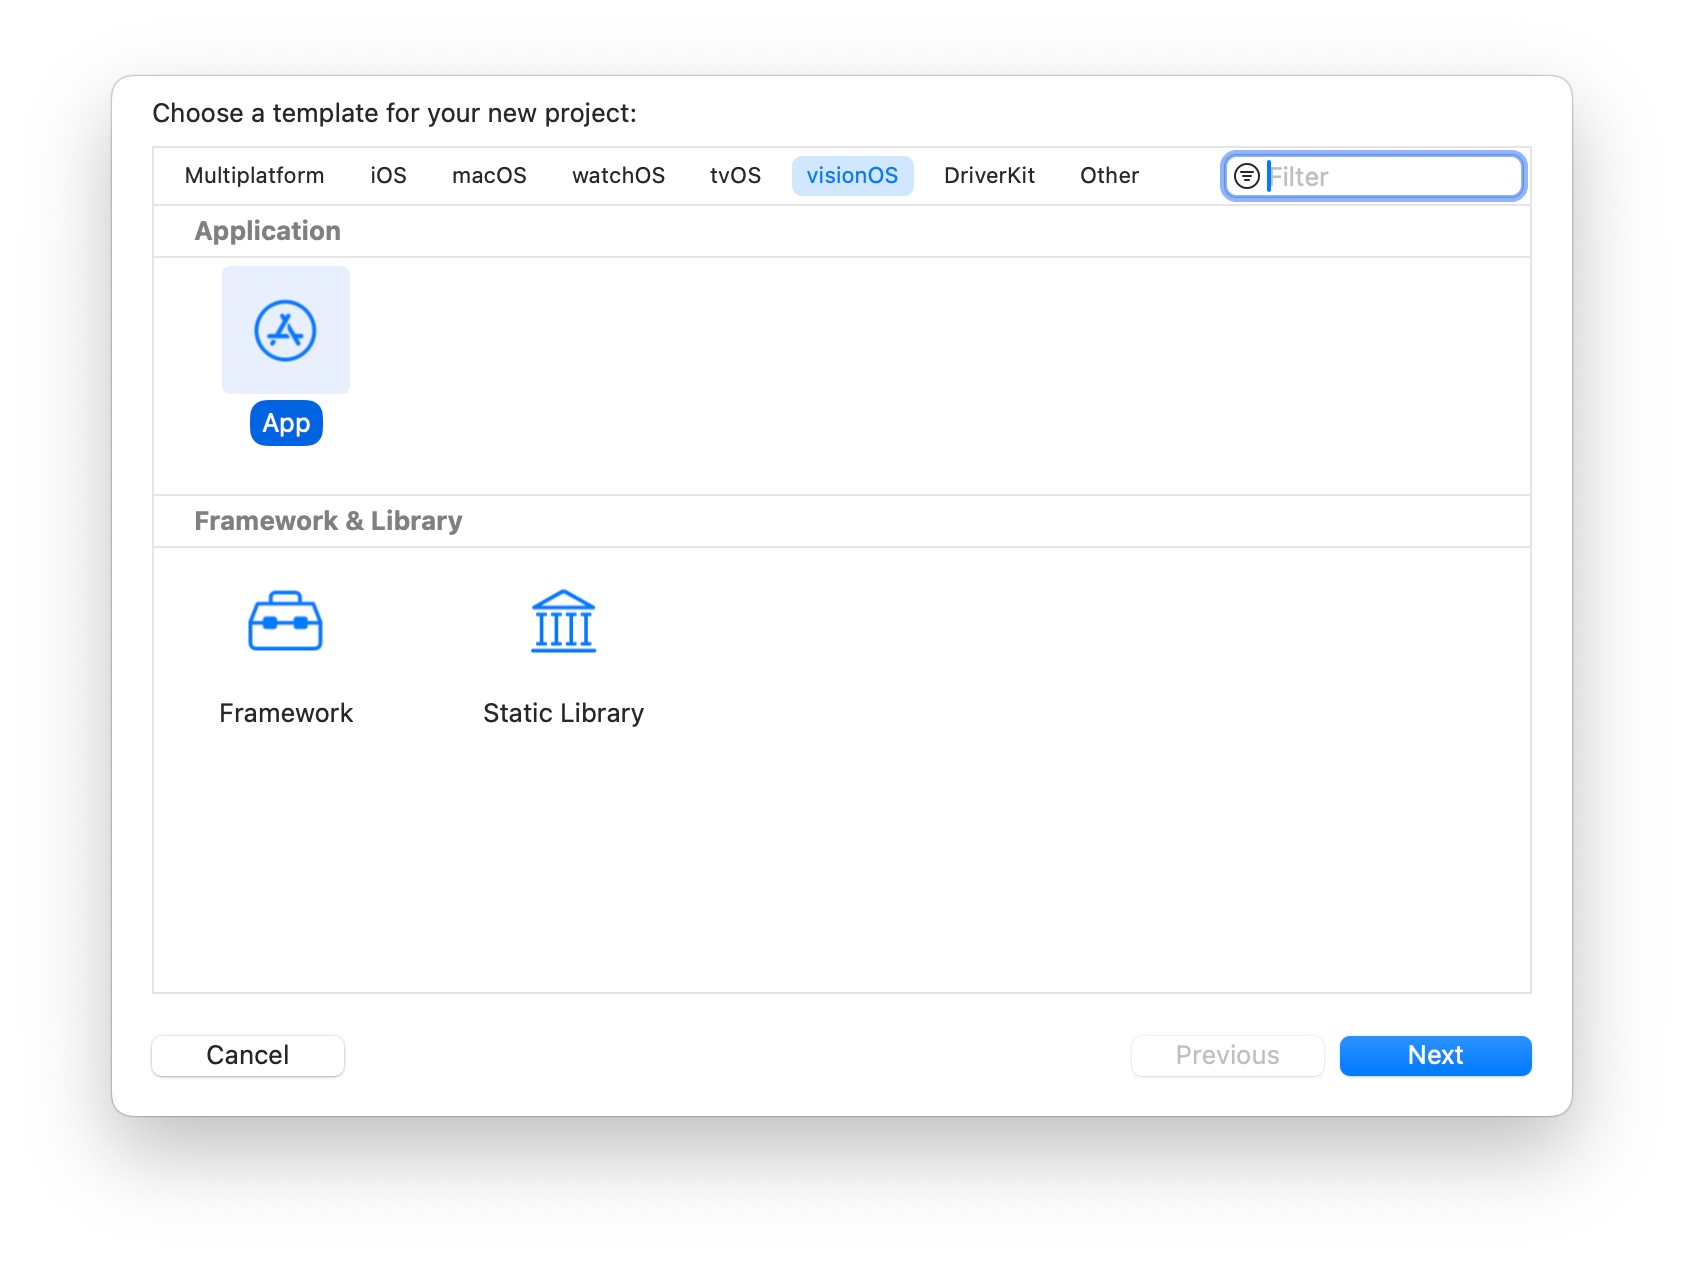
- Open Xcode and create a new project.
- Select visionOS as the platform and an App application project template.
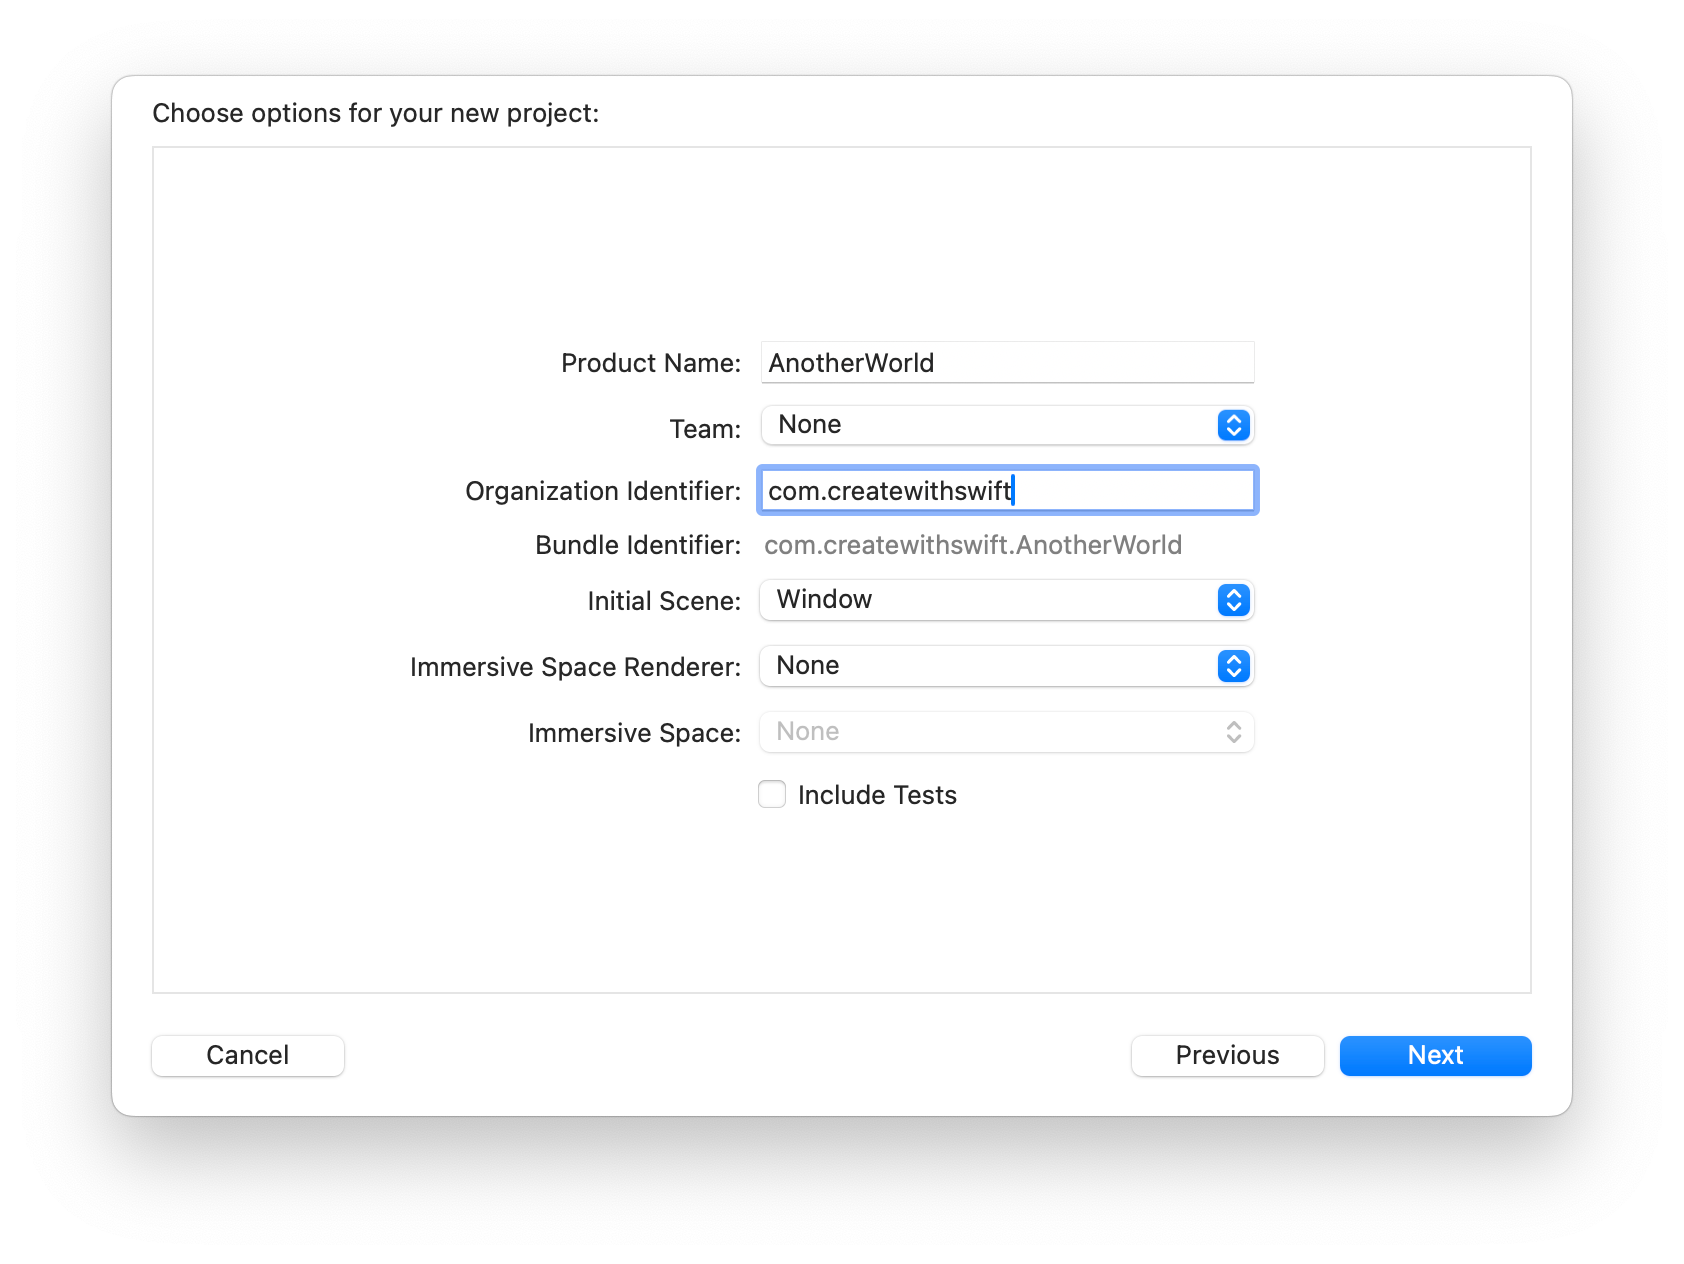
For the project initial settings for the following configurations:
- Initial Scene:
Window - Immersive Space Renderer:
None - Immersive Space:
None
Now let’s import the video file in our project.
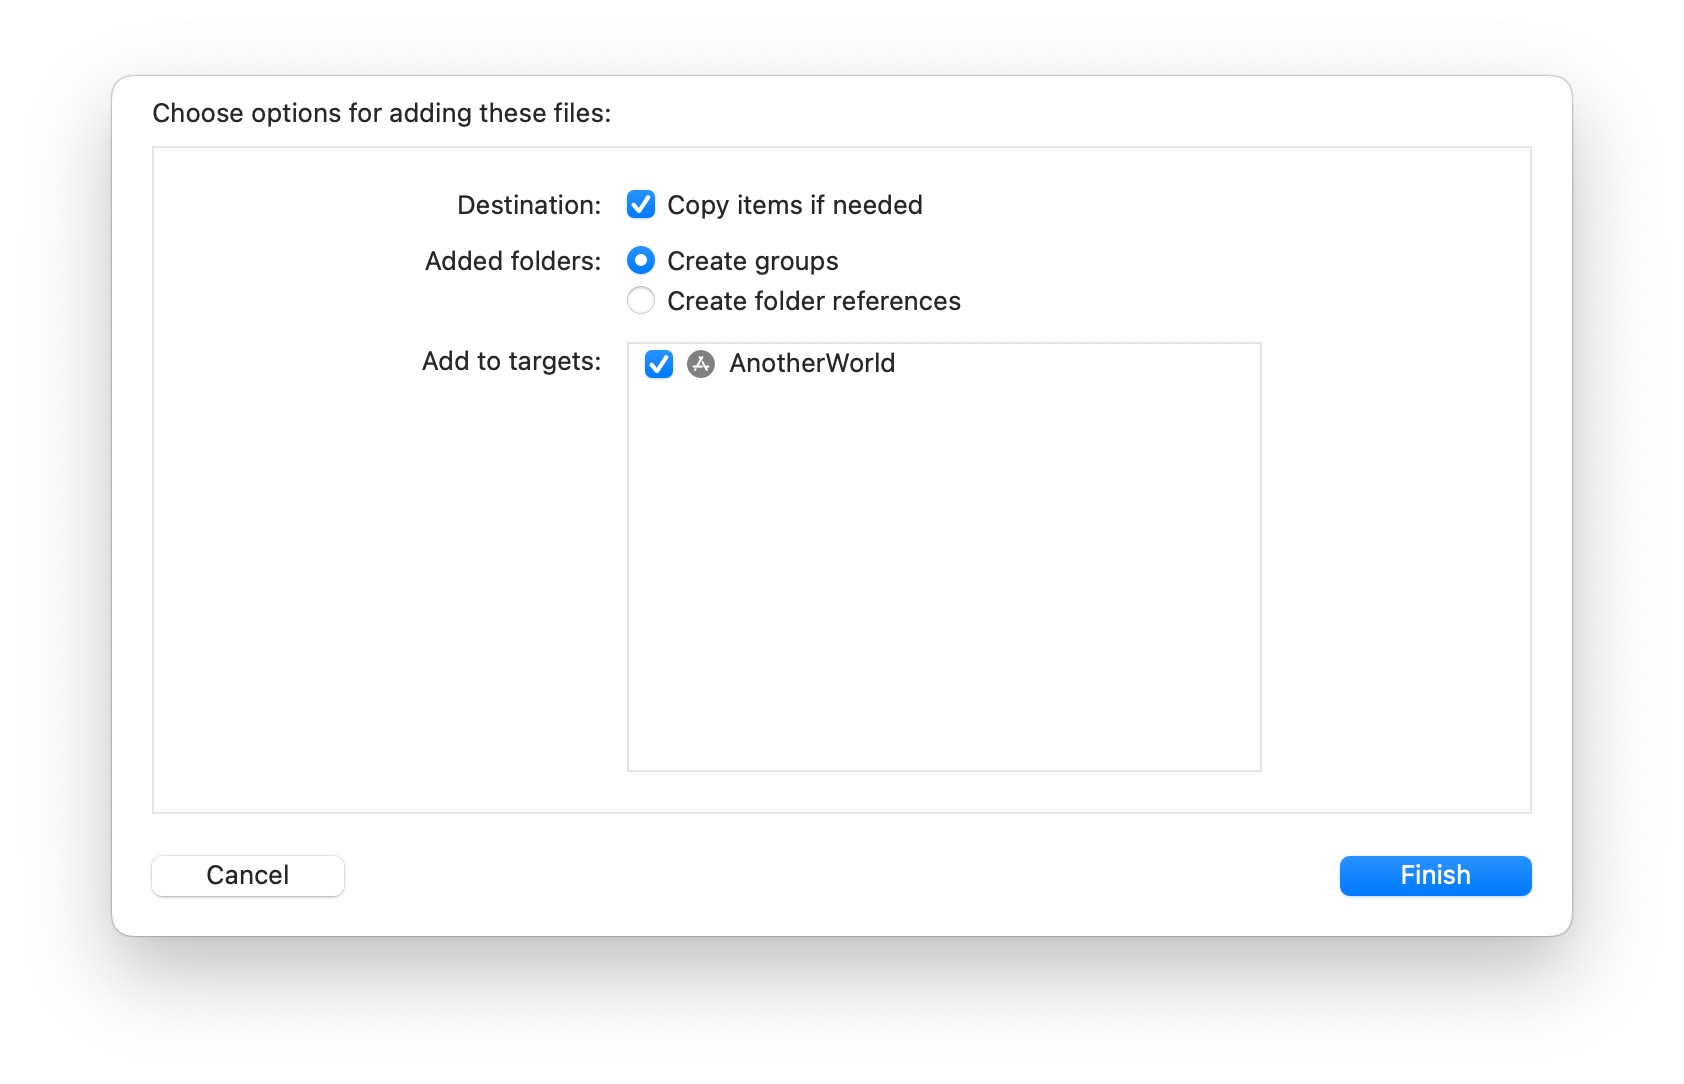
- Drag and drop the video file into the project navigator
- Ensure that Copy items if needed checkbox is marked
- Ensure that the project target is selected
Step 2 - Create the immersive view
Create a new SwiftUI view and name it ImmersiveView. In this view, you are going to implement the 360-degree experience. To do that you will need the following frameworks:
- RealityKit: for showing 3D content
- AVFoundation: for playing videos
import SwiftUI

// importing the frameworks
import RealityKit
import AVFoundation

struct ImmersiveView: View {
    var body: some View {
        Text("Hello, World!")
    }
}

#Preview {
    ImmersiveView()
}
Step 3 - Generating a Video Material
We need two functions now — one for generating a video material and another for designing the skybox using a sphere, applying the video material created previously.
In RealityKit, a material is an object that defines the surface properties of a rendered 3D object, whereas a VideoMaterial is a material that maps a movie file onto the surface of an entity.
Let's start by generating the video material object.
struct ImmersiveView: View {
    var body: some View {
        Text("Hello, World!")
    }

    // 1.
    func generateVideoMaterial() -> VideoMaterial? {

    }
}
- Create a function called
generateVideoMaterial()that returns aVideoMaterial?.
Now implement the following code to load the video asset and create a video material out of it.
func generateVideoMaterial() -> VideoMaterial? {

	// 1.
    guard let url = Bundle.main.url(forResource: "createwithswift.com-tutorial-create-an-immersive-experience-with-a-360-degree-video-in-visionos-video-asset", withExtension: "mp4") else {
        print("Error loading video")
        return nil
    }

    // 2.
    let avPlayer = AVPlayer(url: url)

    // 3.
    let videoMaterial = VideoMaterial(avPlayer: avPlayer)

    // 4.
    avPlayer.play()

    // 5.
    return videoMaterial
}
- Create a
URLthat points to the video file. A guard statement is used to locate the URL of the video file at the app's main bundle. If the URL retrieval fails, an error message is printed, and the function returns nil. - Create an
AVPlayerinstance to control the playback of the video. Having retrieved the video URL, anAVPlayerinstance is created using the obtained URL. ThisAVPlayerwill be responsible for controlling the playback of the video. - Instantiate and configure the video material. A
VideoMaterialinstance is created, taking the previously createdAVPlayeras a parameter. This step involves the instantiation and configuration of the video material, which likely implements properties and methods related to the display and handling of video content in SwiftUI. - Once the video material is set up, the
play()method is called on theAVPlayerinstance, initiating the playback of the video. - Returns the
VideoMaterialobject.
Step 4 - Generating a SkyBox
Let’s create the function that creates the skybox and applies the video material to it.
struct ImmersiveView: View {
    var body: some View {
        Text("Hello, World!")
    }

    func generateVideoMaterial() -> VideoMaterial? { ... }

    // 1.
    func generateSkyBox() -> Entity? {

    }
}
- Create a function called
generateSkyBox()that returns an object of the typeEntity?.
Now implement the following code to create the skybox entity.
func generateSkyBox() -> Entity? {
    // 1.
    let skyBoxMesh = MeshResource.generateSphere(radius: 1000)

    // 2.
    guard let videoMaterial = generateVideoMaterial() else {
        return nil
    }

    // 3.
    let skyBoxEntity = ModelEntity(mesh: skyBoxMesh, materials: [videoMaterial])

    // 4.
    skyBoxEntity.scale *= .init(x: -1, y: 1, z: 1)

    // 5.
    return skyBoxEntity
}
- Create a spherical mesh for the skybox with a radius of 1000 units. The function starts by generating a spherical mesh, a fundamental 3D shape representing the skybox. The mesh is designed with a radius of 1000 units, providing a wide and immersive backdrop for the scene.
- To make the skybox dynamic, a video material is introduced. Use the method implemented in the previous step,
generateVideoMaterial(), to prepare and configure the material. A guard statement ensures that the video material is successfully created; otherwise, the function exits by returning nil. - The core of the function involves creating a
ModelEntity– a SwiftUI entity representing a 3D object – for the skybox. This entity is constructed by combining the previously generated spherical mesh and the video material, forming a dynamic 3D element. - Scale the skybox entity in such a way that it appears correctly in the scene. To ensure the proper orientation and appearance of the skybox, the function adjusts its scale. The scale transformation includes flipping the skybox along the x-axis, a common practice in 3D graphics to align objects correctly within the scene.
- Returns the skybox entity.
Step 5 - Displaying the skybox content
To display the skybox content we will use a RealityView. We will work on the body of our previously created ImmersiveView.
struct ImmersiveView: View {
    var body: some View {
        // 1.
        RealityView { content in
            // 2.
            guard let skyBox = generateSkyBox() else { return }

            // 3.
            content.add(skyBox)
        }
    }

    func generateVideoMaterial() -> VideoMaterial? { ... }

    func generateSkyBox() -> Entity? { ... }
}
- The RealityView renders the view's content.
- Creating a dynamic skybox using the
generateSkyBox(). - Adding the dynamic skybox to the content of the
RealityView. Adds the skybox to theRealityViewcontent and contributes to the creation of a visually engaging and immersive environment.
Step 6 - Creating an immersive space
We need to implement the immersive space that will display the ImmersiveView, a scene that presents its full immersion-style content in an unbounded space.
Go to your app file.
@main
struct AnotherWorldApp: App {

    // 1.
    @State private var currentStyle: ImmersionStyle = .full

    var body: some Scene {
        WindowGroup {
            ContentView()
        }
		// 2.
        ImmersiveSpace(id: "VideoImmersiveView") {
            ImmersiveView()
        }
		// 3.
        .immersionStyle(selection: $currentStyle, in: .full)
    }
}
- Declare a variable to track the current immersive style. This declares a state variable
currentStyleof typeImmersionStyle. Set it to.full. - Create an
ImmersiveSpacewith the id"VideoImmersiveView", for managing immersive experiences, with ourImmersiveViewenclosed. - Sets the immersion style for the
ImmersiveSpace. The parameterselectionis bound to thecurrentStylevariable, and the range is limited to.full.
Step 7 - Setting up the display controls
In the ContentView let’s create a toggle to control the visibility of the immersive space, allowing the user to turn it on and off.
import SwiftUI
import RealityKit
import RealityKitContent

struct ContentView: View {

    // 1.
    @State var showImmersiveSpace = false

    // 2.
    @Environment(\.openImmersiveSpace) var openImmersiveSpace

    // 3.
    @Environment(\.dismissImmersiveSpace) var dismissImmersiveSpace

    var body: some View {

        // 4.
        Toggle(showImmersiveSpace ? "Back to Reality" : "Show Immersive space", isOn: $showImmersiveSpace)
            .toggleStyle(.button)

            // 5.
            .onChange(of: showImmersiveSpace) { _, newValue in
                // 6.
                Task {
                    if newValue {
                        await openImmersiveSpace(id: "VideoImmersiveView")
                    } else {
                        await dismissImmersiveSpace()
                    }
                }
            }
            // 7.
            .controlSize(.extraLarge)
    }
}
- State variable to control the visibility of the immersive space.
- Environment variable to open the immersive space.
- Environment variable to dismiss the immersive space.
- Toggle switch to control the visibility of the immersive space.
- Trigger an action when the value of
showImmersiveSpacechanges. - An asynchronous task for handling opening or dismissing the immersive space.
- Adjust the control size of the toggle. It is set to be
.extraLarge.
Final Result
Run the application on the Apple Vision Pro simulator and get immersed in a 360-degree video experience!
The frameworks used in this project are AVFoundation and RealityKit.
AVFoundation helps with the videos and sounds by creating a unique AR session. Meanwhile, RealityKit adds a 3D and augmented touch, making the experience feel real and exciting based on AR content.